
🛍️Creating a Product
After you register on our marketplace, you can easily create products and customize them from an intuitive dashboard.
Create a product from the Vendor dashboard
To create a product, navigate to the vendor dashboard. And then click on Products from the left menu. After that click on the Add New Products button from the top right corner.
You’ll get a new window where you will be able to create a new product giving all the details.

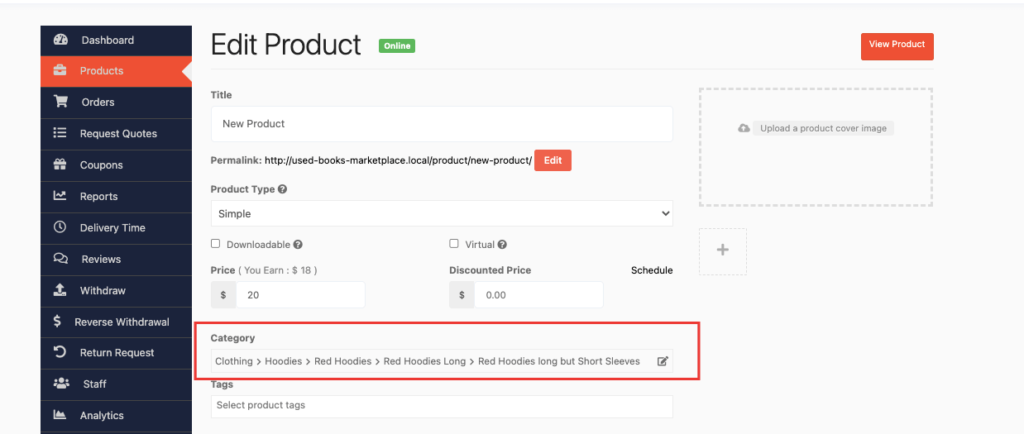
Basic Details
The common information about a product are the title, price, description. Discount price is optional. You can even schedule discounts for a certain amount of time. You can enter a starting date and end date to apply automatic discounts to your product.
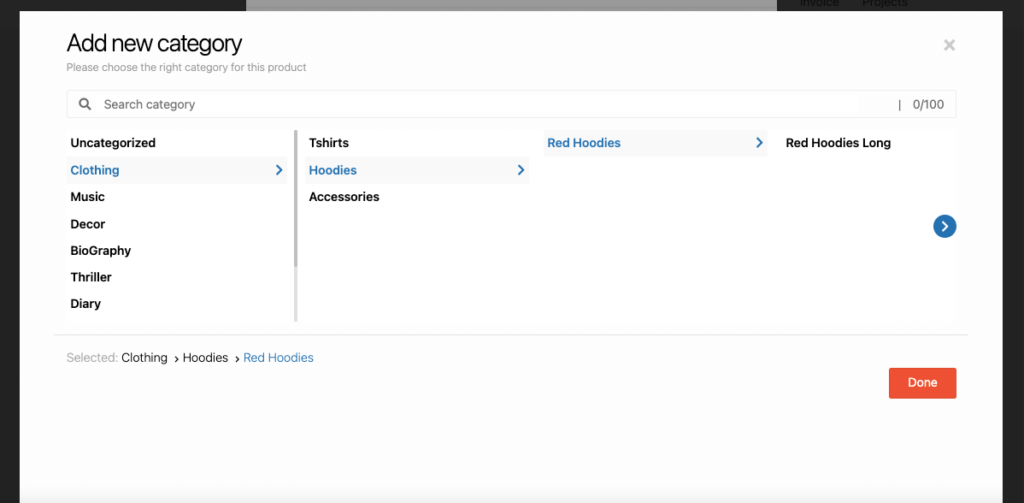
Select Category
By default, category selection is singular. You need to select the category from the drop-down.
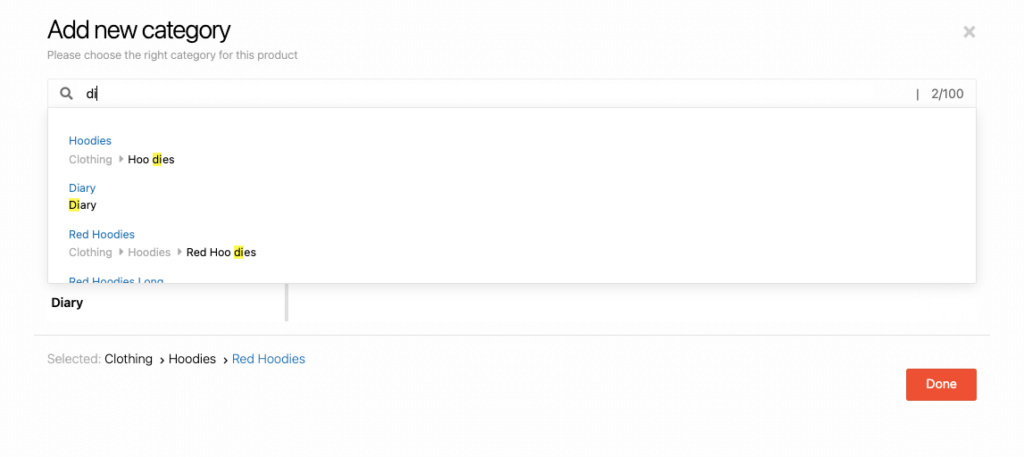
You can also search for categories as well. Just type the category name in the search box, and you will see the matching categories,
Click on the Done button to finish adding the categories. You can add multiple categories.
Selecting Product Type
A variable product is a product that has different types of variants. For example, you might want to sell a product that is available in 3 different counts and weights. So this option will enable you to add the count and weight you need.

Inventory and variants
This section holds a bit of complicated information. None of these fields are mandatory. If you do not need to add stock quantity and your is just a simple product, then you can totally skip this section.
But if you are creating a product, which has multiple sizes, then you should read this section carefully.

What is SKU?
SKU stands for Stock Keeping Unit. It should be a unique set of characters which will not match to any other product.
Enable Product Stock Management
Let’s say you have 10 pieces of the product and you don’t want to receive after orders are placed for 10 units. If you enable stock management and enter 10 in the quantity field, then after 10 units are ordered, this product will show a message that all the quantities are sold and there is no stock.
But, you might want to take some pre-orders before your next batch comes up. So you can Allow Back Order to let the customers place orders even if the product is out of stock.
Tax
Here you can only select the pre-made tax classes. If you have missed the tax configuration part in our documentation, you can read it here.
Other Options
Visibility: The visibility option defines the privacy of the product. By default “Catalog and Search” is selected. But if you want the product to only appear on the category listing page, search results, or want to list it as a hidden product, then you can select the option respectively.
If you select any other option than Catalog and Search then the product will not appear on the site other than the store page.
Purchase Note: If you want the customer to receive a custom message right after purchasing the product, you can paste that in the box.
Reviews: If you do not want to receive reviews for the product from the customers, you can turn it on or off.
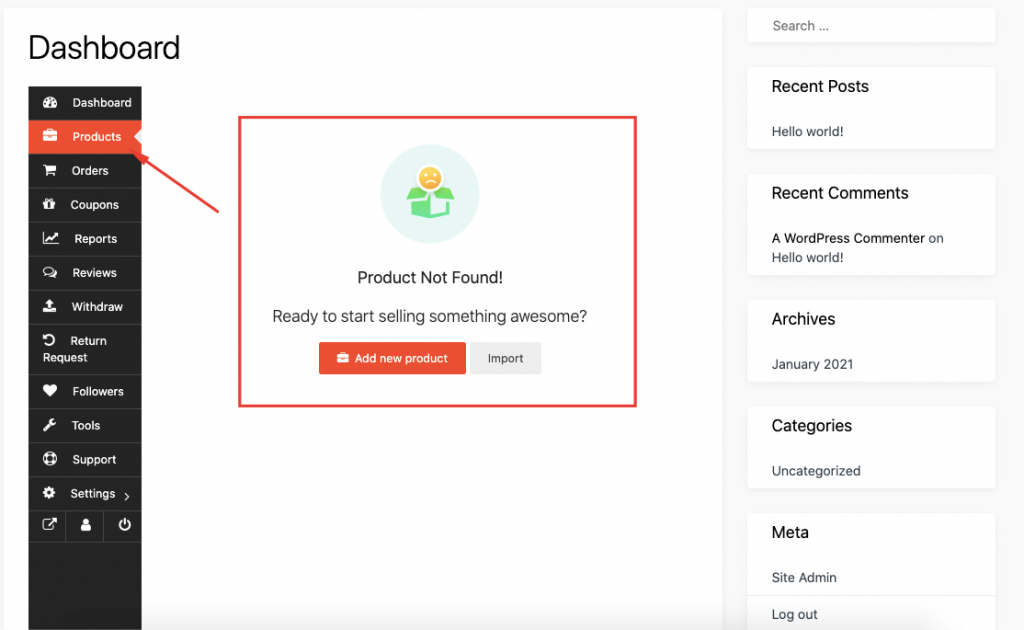
Blank Product Page
When you setup your shop for the first time in the marketplace, you may not have any products. However, you can create your products from the Blank Product page.
You can create new products as well.
Product Bulk Edit
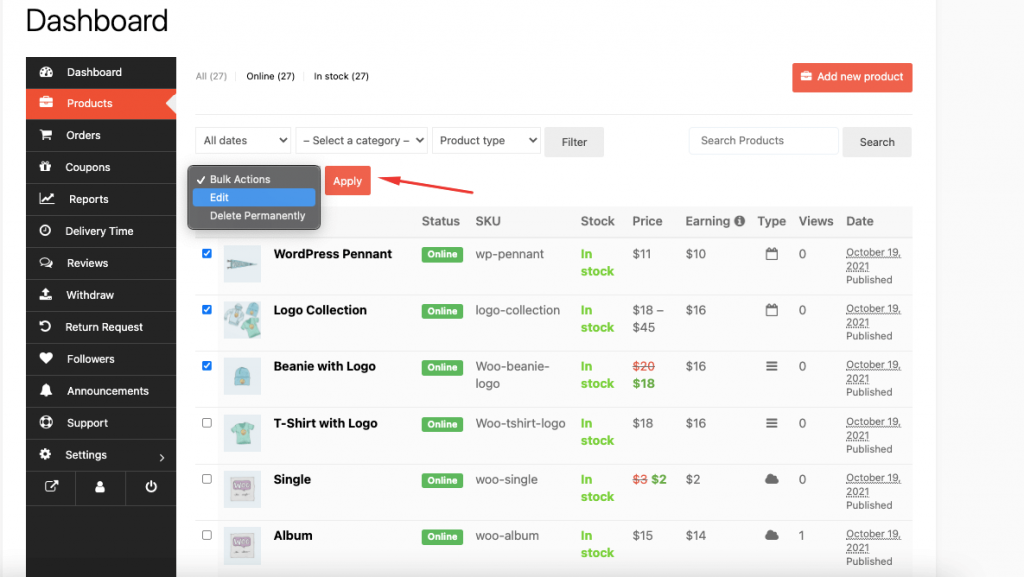
You can edit the products in bulk from the vendor dashboard. You need to go to Vendor Dashboard–> Products. There you need to choose multiple products to edit. Then click on the Apply button,
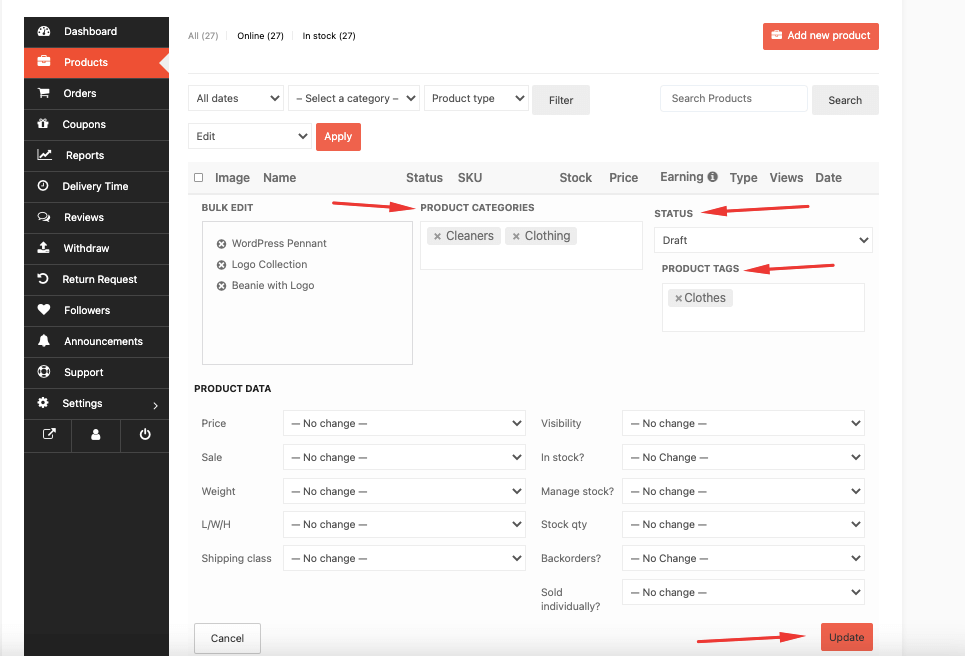
Now, you can update/add product categories and change the product status to Draft. Also, you can update product price, sale, weight, shipping class, visibility, change stock status, etc. Click on the Update button to finish.
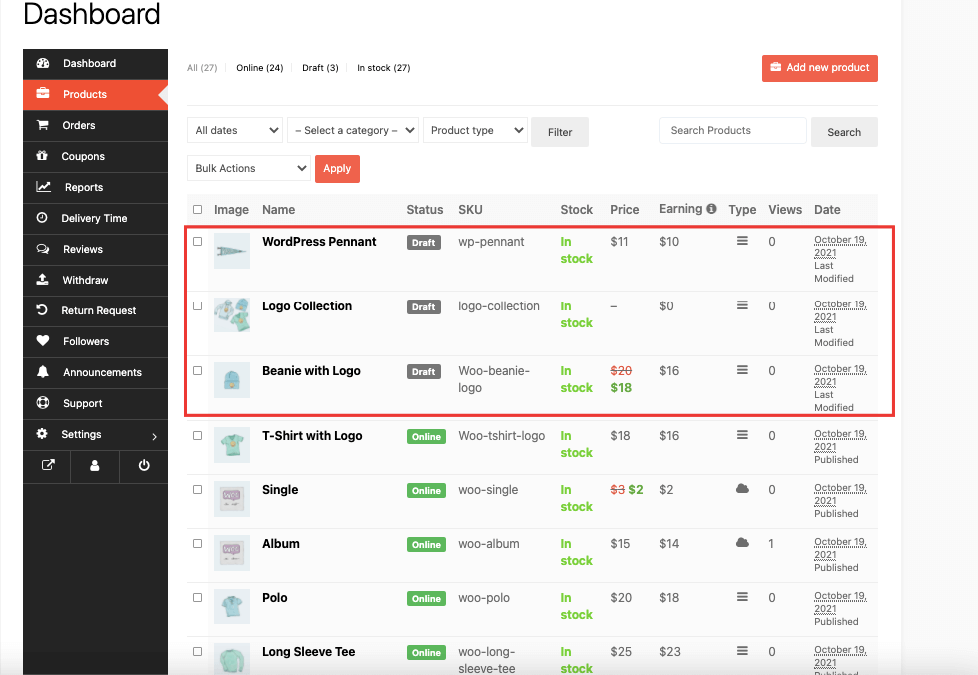
After finishing the update, you will be able to see the changes in the Product list.
If you click on the quick edit option, you will be able to see the new categories and tags added.
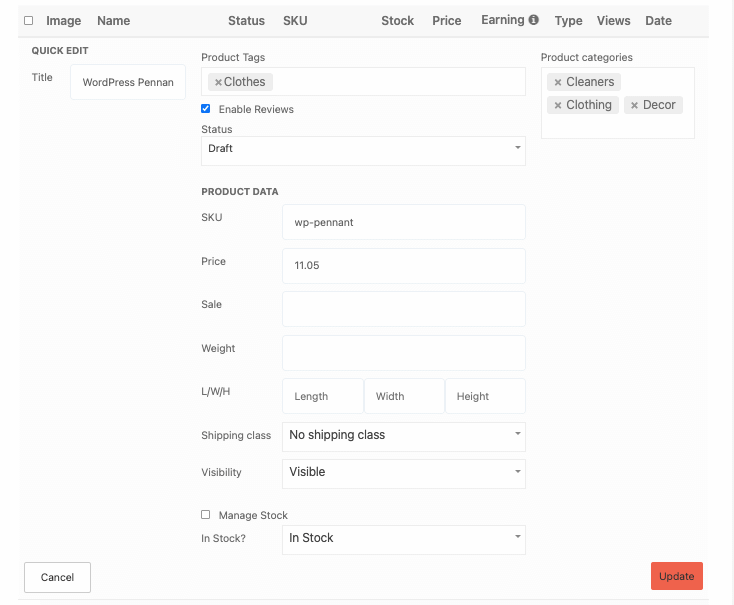
This is how you can bulk edit products from your vendor dashboard.
Last updated